Creating Personal Phone Book
The process for creating Personal Phone Books is very similar to the process for creating Local FaxPress Phone Books with some exceptions:
| ■ | You must be logged into the FaxPress Premier server to access the Personal Phone Books folder. |
| ■ | You can not have multiple Personal Phone Books, however you can have multiple groups within your Personal Phone Book. |
To create personal phone books, follow these steps:
| 1. | Open FaxPress Plus and login to your FaxPress Premier server. |
| 2. | Expand the Mailbox branch and click on Personal Phone Books. |
| 3. | From here, either create a Group or import a phone list file. |
To create a group, follow these steps:
| 1. | Right click on Personal Phone Books and select Add Group from the context menu. The Add Group dialog box will be displayed. |
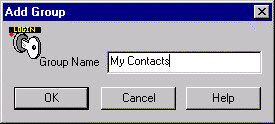
Group names can be used when sending faxes to broadcast your fax to any number of recipients. FaxPress Premier handles this as a single fax and in fact only creates one raster file. This can significantly reduce the time necessary to process faxes.
| 2. | Enter the name you want to give the new phone book in the Group Name text box. A file will be create with your group name and will be stored in your user directory on the FaxPress Premier file server. |
| 3. | Click OK to accept the values. A new folder will now be visible under the Personal Phone Books folder.You now can add individual members to your group. |
| 4. | To add members to the group, right click on the Group name and select Add Member. The Edit Member dialog box will be displayed. |
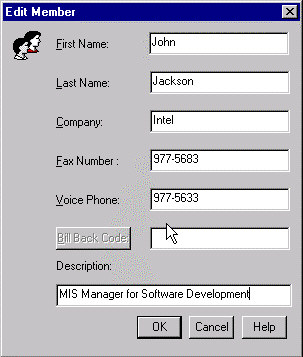
| 5. | Fill in the Edit Member dialog box with the appropriate information. |
You can continue adding individual members, or you can import members into your phone book from a previously created phone book file. To import members continue to the next section, Import FaxPress Phone Books.
As with Local FaxPress Phonebooks, you can import four types of phone book files:
| ■ | Standard Comma Delimited Files (*.csv) |
| ■ | Custom Comma Delimited Files (*.csv) |
| ■ | dBase Files (*.dbf) |
| ■ | ExportPH Files (*.*)— This is a FaxPress Premier 3.x exported phone book |
To import a phone book file:
| 1. | Right click the Personal Phone Book folder and select Import and the file format (i.e., CSV Default Format, CSV Custom Format, ExportPH, dBase) from the context menu. |
If you are importing a CSV default format file, a dBase file, or a ExportPH file, an Open import file screen will provide you the means for locating the file.
If you are importing a CSV custom format file, the Import File Field Assignment dialog box will be displayed before the Open import file screen.
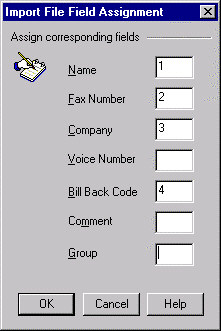
The default values in this dialog box are 1 through 7 respectively. Re-sequence the fields to correspond to your custom file. If you do not a one of the default fields in your custom file, leave the field blank. In the figure above, the custom file does not have fields for Voice number, Comment or Group.
| 2. | After to have located the file, click OK to import the file. The phone book number will all be located in the folder ALL (if not Group is defined in your imported file) or the Group name (defined in the import file) folder under your new FaxPress Phone Book. |
Export FaxPress Phone Books
To export a phonebook, follow these steps:
| 1. | Open FaxPress Plus and login to a FaxPress Premier server. |
| 2. | Expand the Mailbox Branch, right click on Personal Phone Books. |
| 3. | Select Export from the context menu. The SaveAs dialog box will be displayed. |
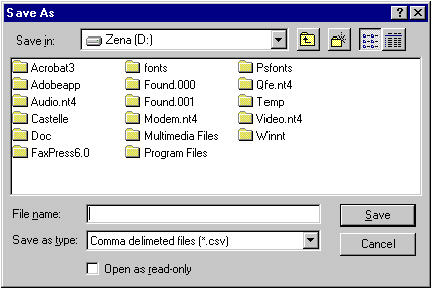
| 4. | Navigate to a directory, specify a name, and save the file. The file will be exported as a comma delimited file. |
|
FaxPress Premier WebHelp
Last Updated: 11/1/2007
E-mail this page |
Castelle 855 Jarvis Drive, Suite 100 Morgan Hill, CA 95037 Toll-free 800.289.7555 Tel 408.852.8000 Fax 408.852.8100 |